Varnishing
Tuesday, February 3, 2015
As usual, I have too many projects planned for this winter, but before I can start any of them, I must finish Cabin Boys long-awaited refit.
At the moment, Im trying to varnish all the bits that I intend to leave bright. This was going to be a rather short list -- just the seats and transom -- but the list has grown to include the stem (an obvious addition), the inwale, and the seat stretcher. Everything else will be painted white, with bottom paint on the bottom, since Cabin Boy will spend next summer in the water at the club dinghy dock.
To get as far as I have, I had to learn a few tricks. First off: how to sand all the hard-to-reach spots, like the inside sides of the stem.
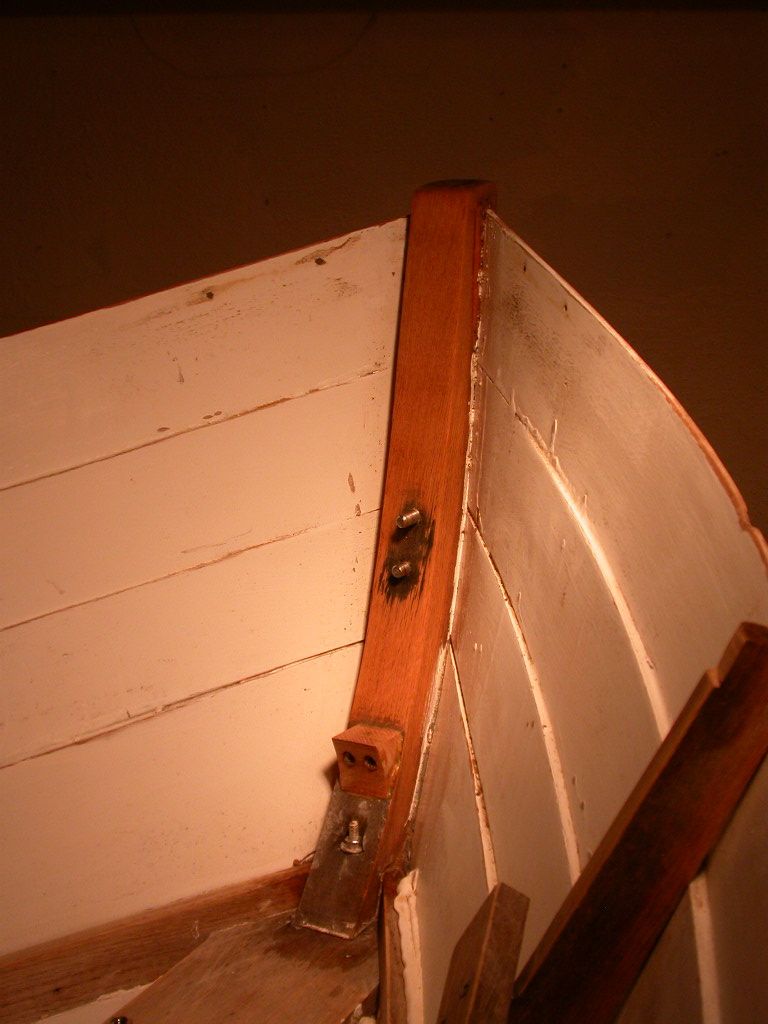 |
| CBs noble stem |
As I quickly discovered, no power sander can reach into the narrow space between the stem and planks, and its even too tight for a sanding block. The obvious solution is to tear off a bit of sandpaper and go at it by hand, but its surprisingly hard to get a floppy bit of paper to do much work.
Enter my friend Steve with the perfect solution: a folded bit of sandpaper. No doubt this is an old trick, but it was new to me, so it might help another newbie. Heres the trick:
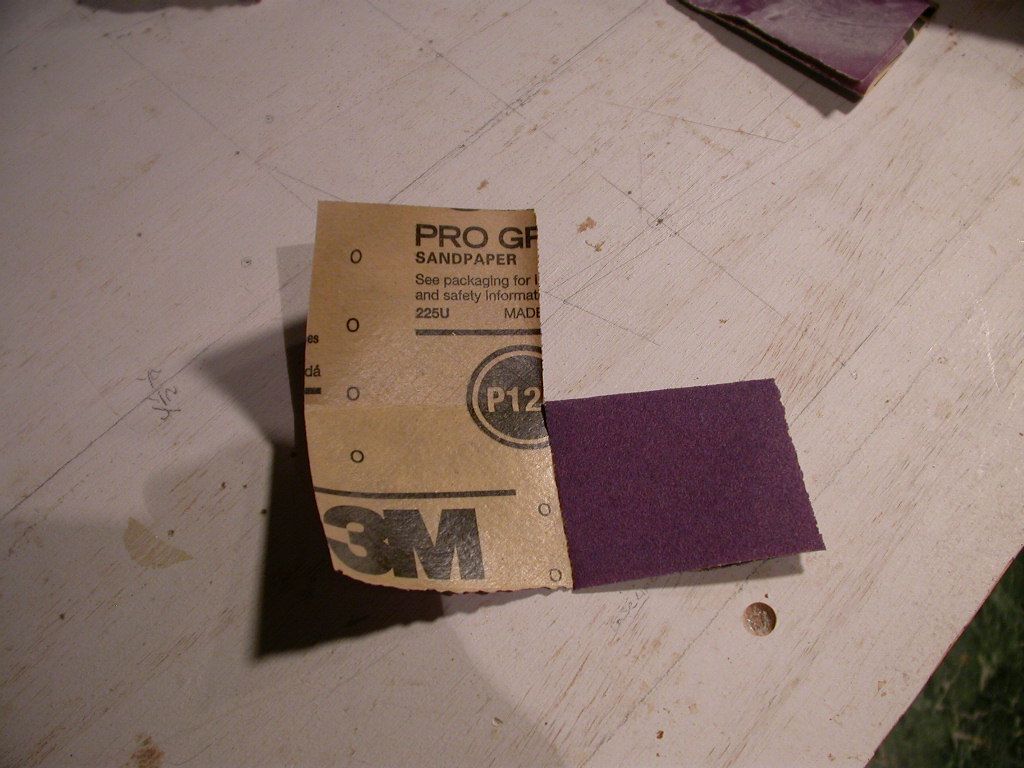
First, choose a piece of sandpaper. For this example, I needed a fairly small piece of 120 grit paper, so I started with 1/4 of a sheet.
Break the back of the sandpaper by pulling the paper over the edge of a table, sand side up. Do this from all 4 corners, across the whole width of the sheet. You will end up with a curled, much more pliable piece of paper that wont crack when you fold it.
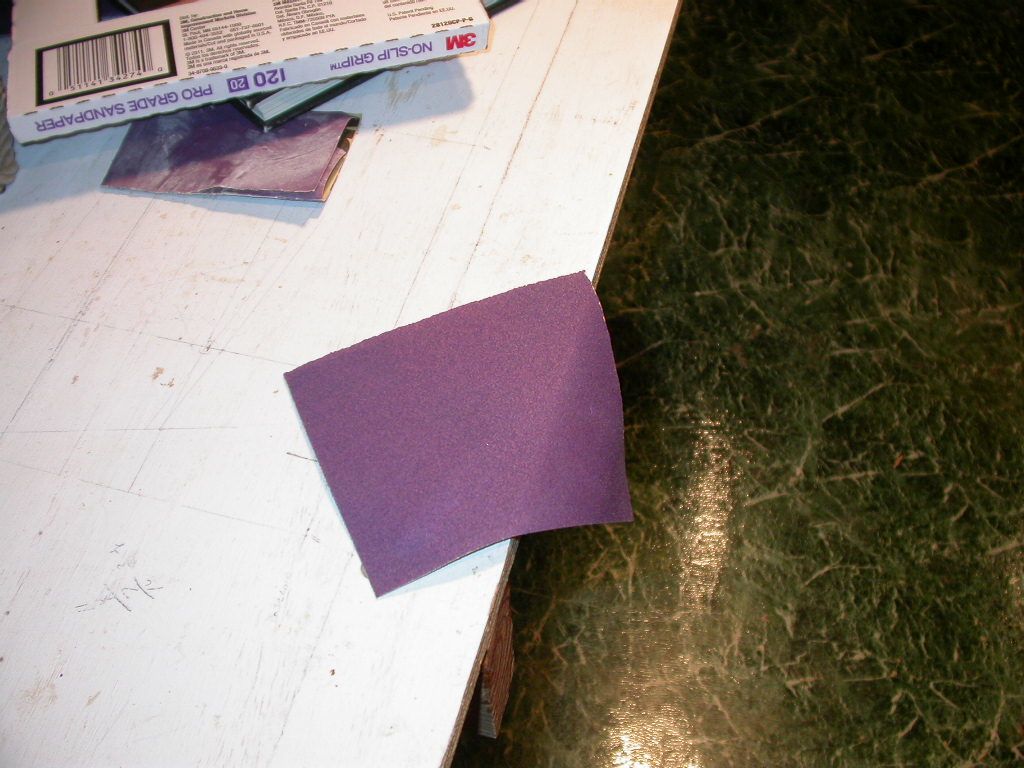 |
| Break the back of the sandpaper by pulling it over the edge of a table, by all 4 corners. Pull it down the whole width of the paper. |
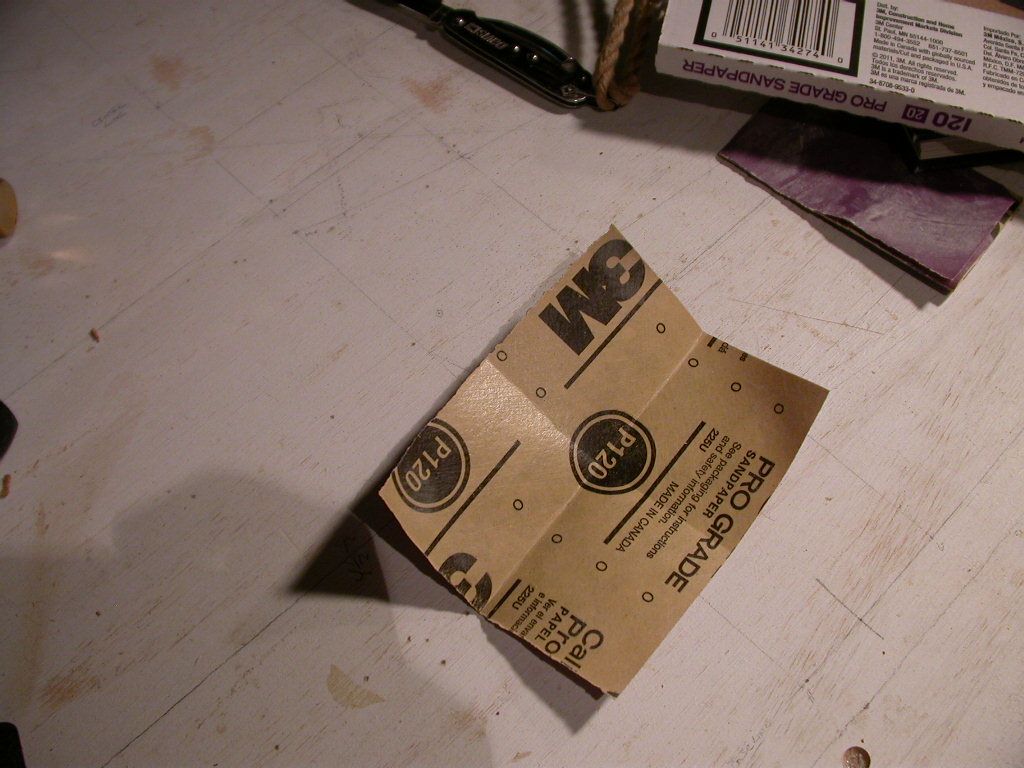 |
| Fold twice |
 |
| One crease cut |
 |
| Fold down |
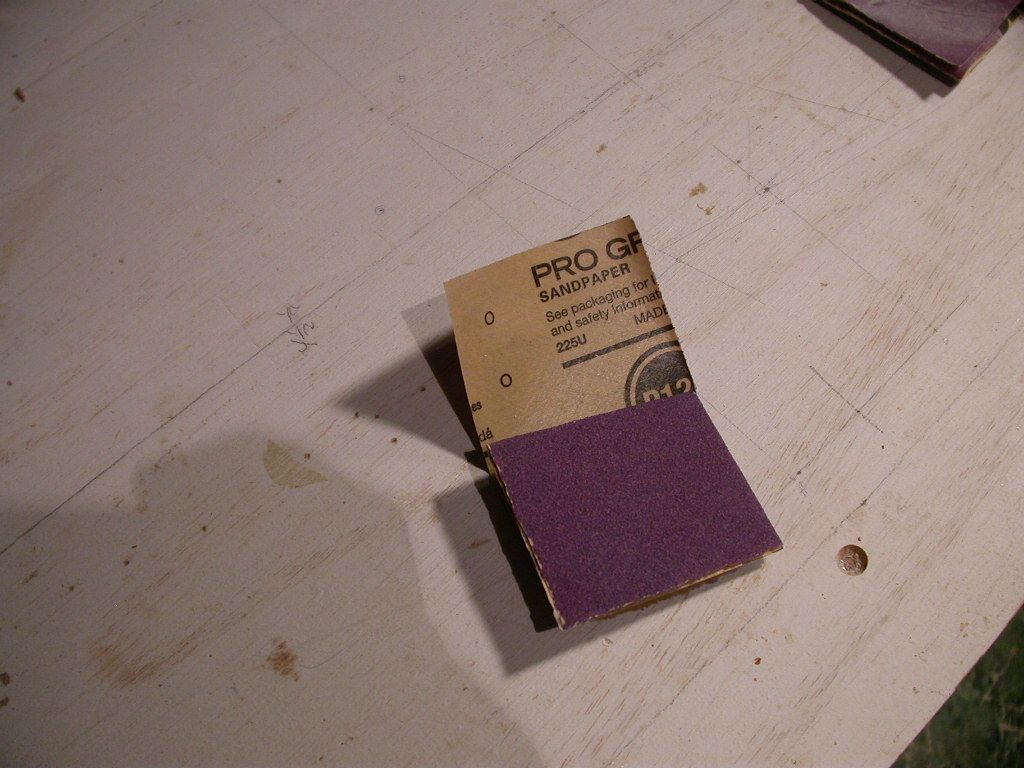 |
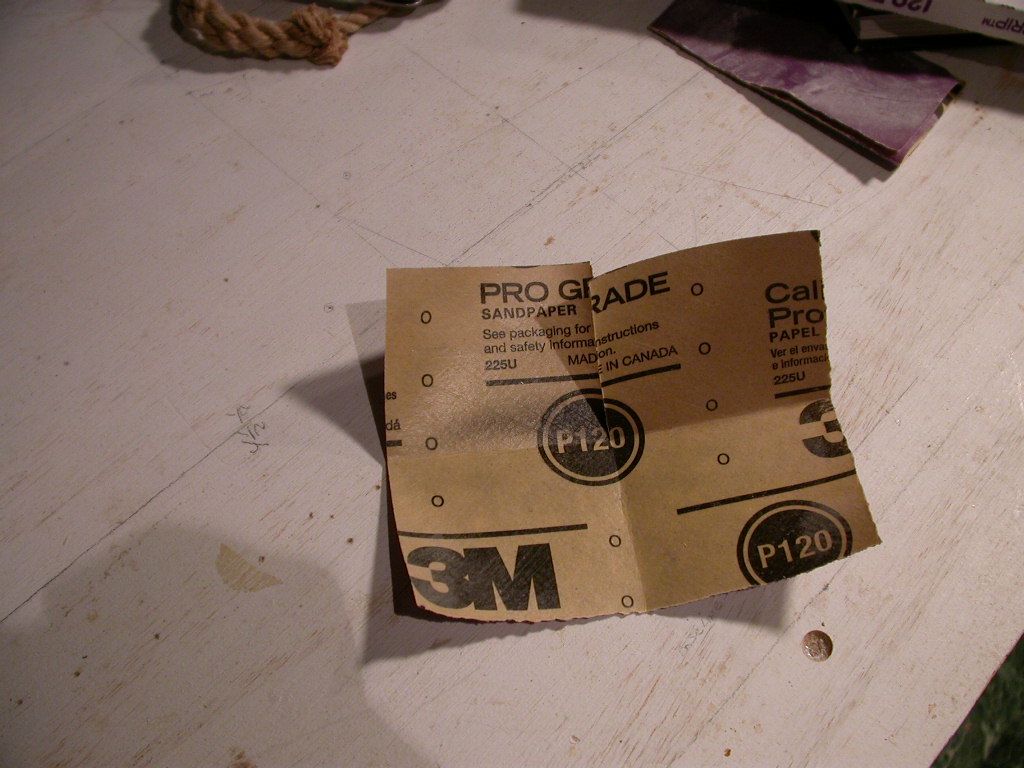
| Then over |
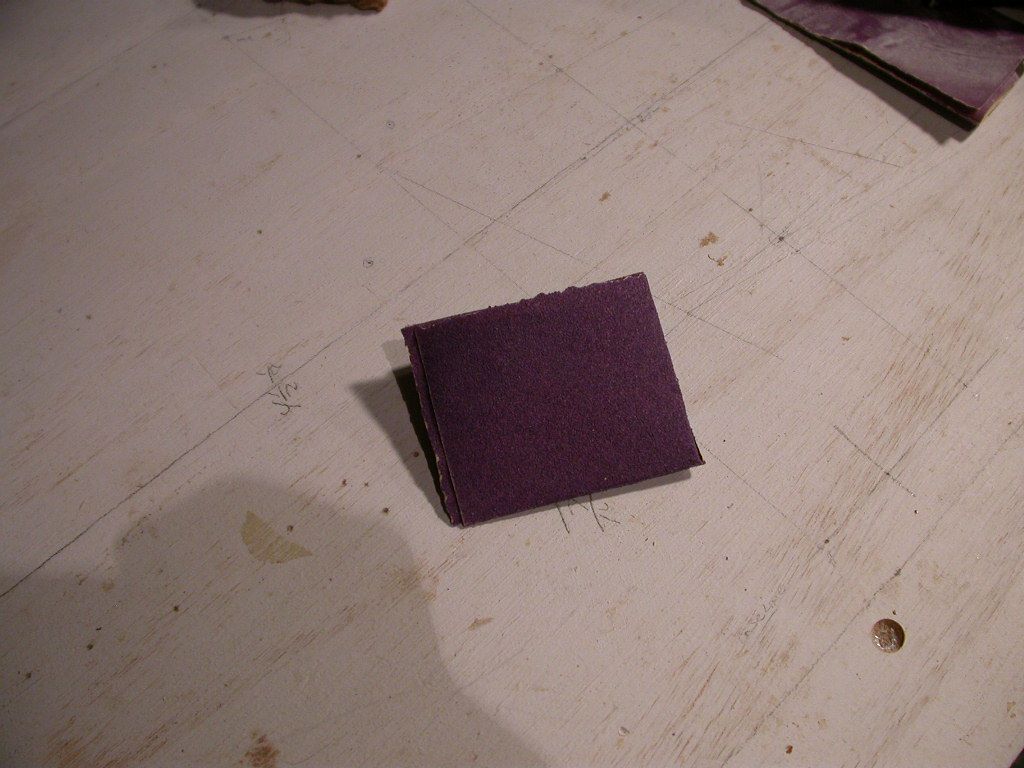 |
| Then up |
This simple trick made sanding Cabin Boys nooks and crannies much, much easier. Its hard to imagine how well it works until you try it.
Gavin Atkin (no relation to William and John, except in spirit, perhaps) had a terrific blog post this week that hit on a topic that Im very interested in: small boats. He quoted from an old book that contained the following two paragraphs:
"In very small sizes the flat-bottomed rowboat is satisfactory and it is easily pulled except in very rough water. It is a good carrier and is strong, but it can seldom be towed satisfactorily. However, it has the advantages of cheapness, ease in building and repair, and of being able to take a lot of punishment on a beach or at a wharf; and is a common type. Properly designed and taken out of the “box” class, the flat-bottomed, or sharpie, rowboat makes the best all-round boat for most small-boat uses.
"Round and V-bottomed small boats are treacherous, cranky craft until they reach a length of about I2 feet. In the smaller sizes they have most of the bad characteristics of the canoe and none of its good characteristics. They tow fairly well, they can be sailed, well in conjunction with a smart yacht when davited or decked. Repairs are difficult. Unless very lightly built, they are heavier than the flat-bottomed boat and therefore offer more difficulty in beaching and stowing. In larger sizes, such as cutters and whaleboats, the advantages of round-bottomed construction and design become apparent, and they become able boats." -- Carl D. Lane in "The Boatmans Manual"Obviously, William and John Atkin felt that flat bottom boats made the best dinghies, since most of their little boats are flat bottomed. As I think I have mentioned before, my club restricts dinghies to 8 by 4. Much as I love Cabin Boy, he really is a bit too small for two people and a load of gear. I would like to cram as big a boat into that 8x4 box as possible, which means a pram. An 8 pram has most of the buoyancy and thus carrying capacity of a 10 boat, without the length.
I also want to build a round-bottom boat, that being the obvious next step in my boat building education.
Surprisingly, the Atkin catalog does not contain an 8 round-bottom pram. Lots of flat-bottom prams, but no round bottoms. I thought of stretching something like the beautiful Katydidnt, but modifying plans goes against the entire Atkin ethos.
 |
| Katydidnt on the way to Block Island? |
Oddly enough, neither did Paul Gartside, arguably the most Atkin-like designer of today. He almost seemed surprised when I pointed this out, and said hed need to draw one eventually. But I had to keep looking.
Eventually, I discovered what I was looking for in Iain Oughtreds catalog: Humble Bee.
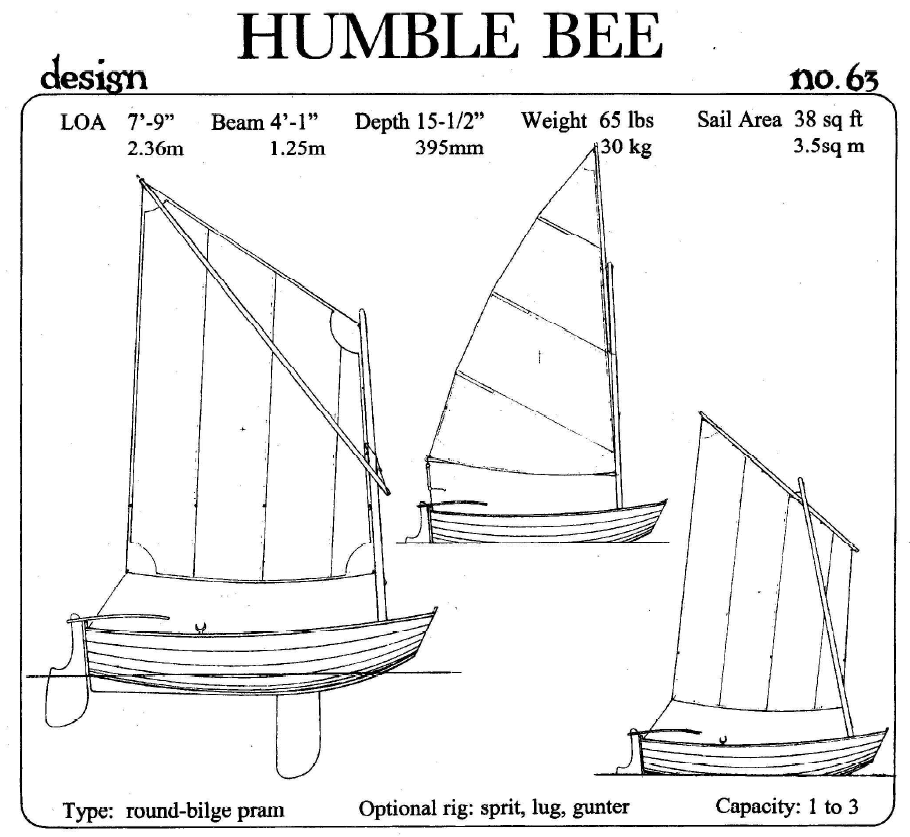 |
| I. Oughtreds "Humble Bee" |
So why did I quote Mr. Lane above? Because he raises an interesting question: which makes the better dingy, a round bottom, or a flat bottom?
To answer that question, I also want to build one of the Atkin flat bottom dinghies, perhaps a slightly stretched Rinky-Dink, which Ive always like the lines of:
 |
| W. Atkins "Rinky-Dink" |
Anyway, thats the long range plan. More next time.
>>> Next Episode: Hurricane Sandy
Subscribe to:
Post Comments (Atom)
0 comments:
Post a Comment